Upload
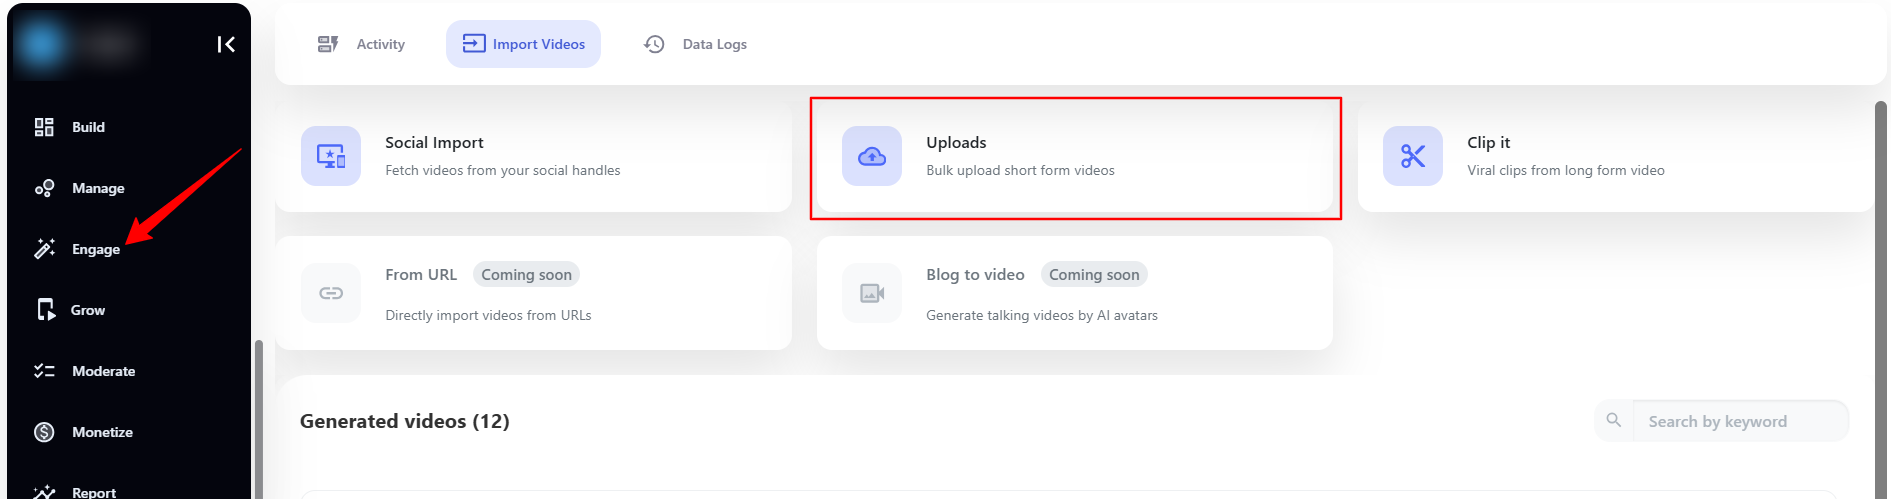
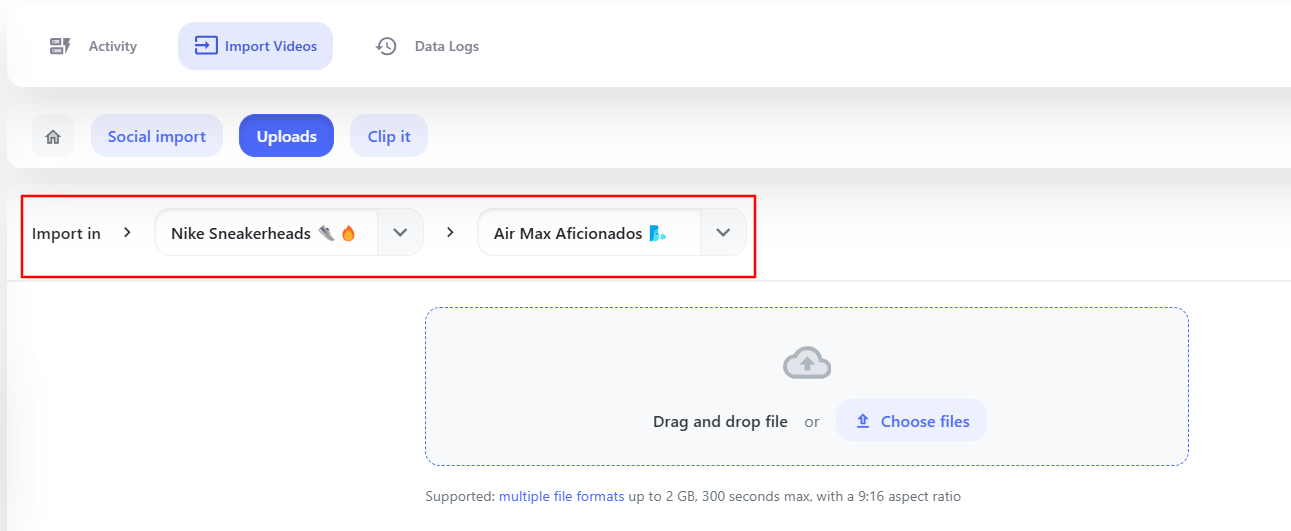
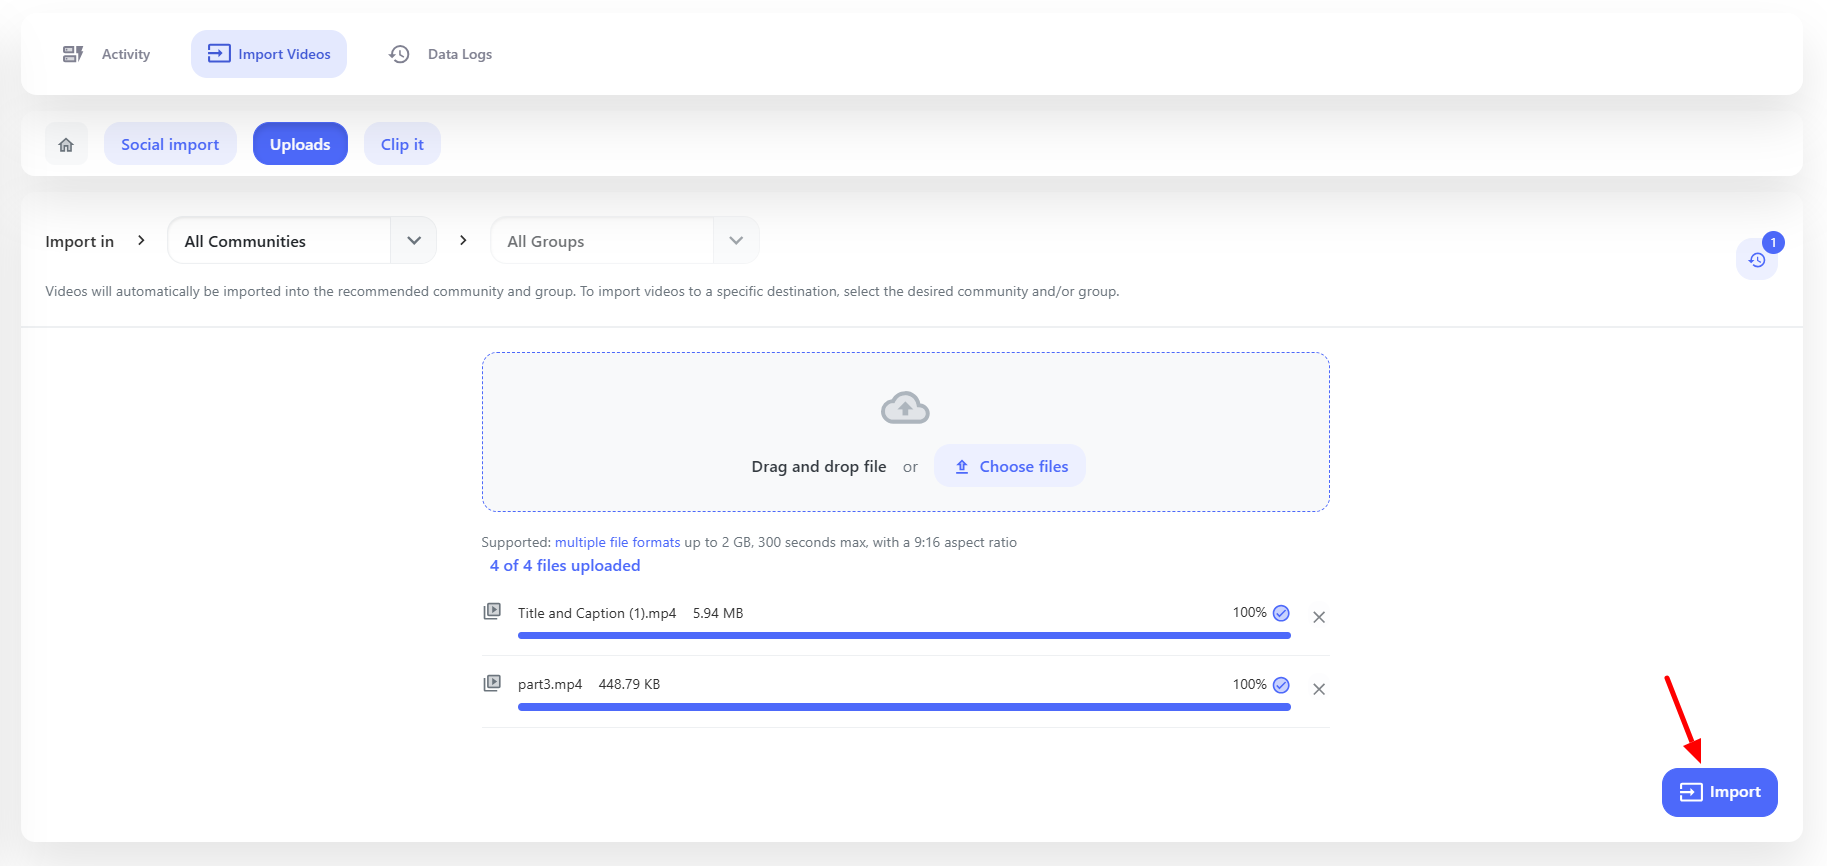
Navigate to Engage > Import Videos > Uploads, you can upload the videos to post it. To upload the Video you can, drag and drop the videos or upload it from the Computer, Google Drive, Dropbox, and S3 Bucket.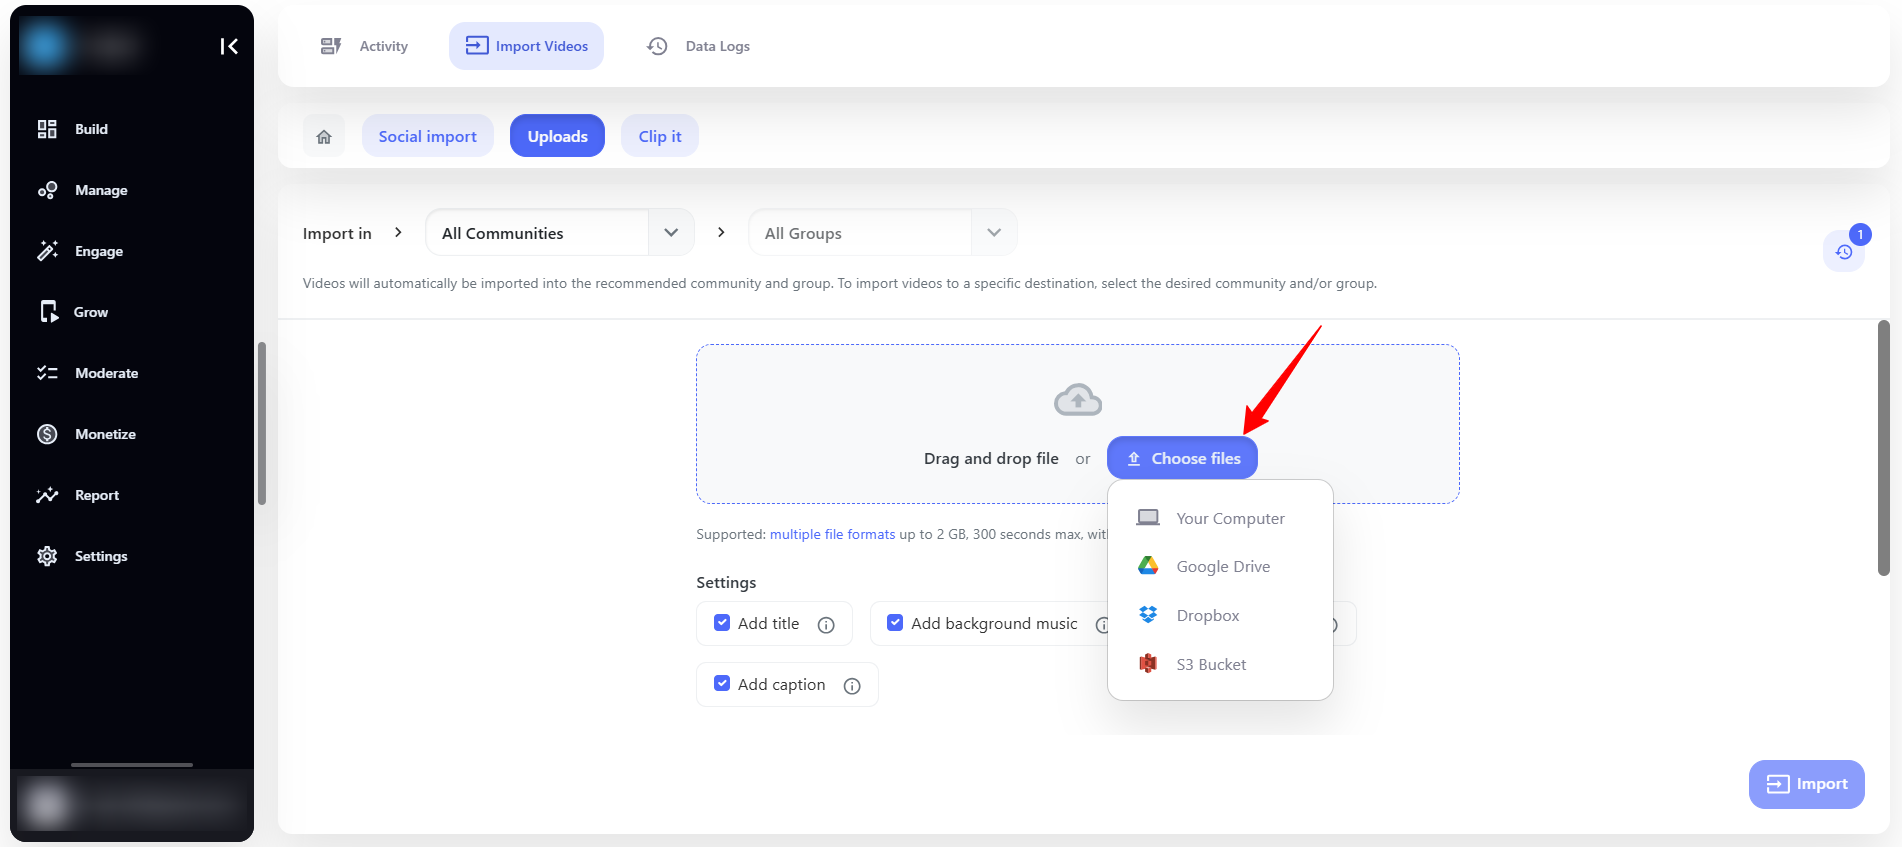
Note: The duration of video shall be less than 300 seconds and up to 2 GB in size. Supported formats to upload files are mp4, mov, avi, wmv, mkv, webm.
Additional Settings
After uploading, you can apply the following settings to upgrade your video experience.
Add Title
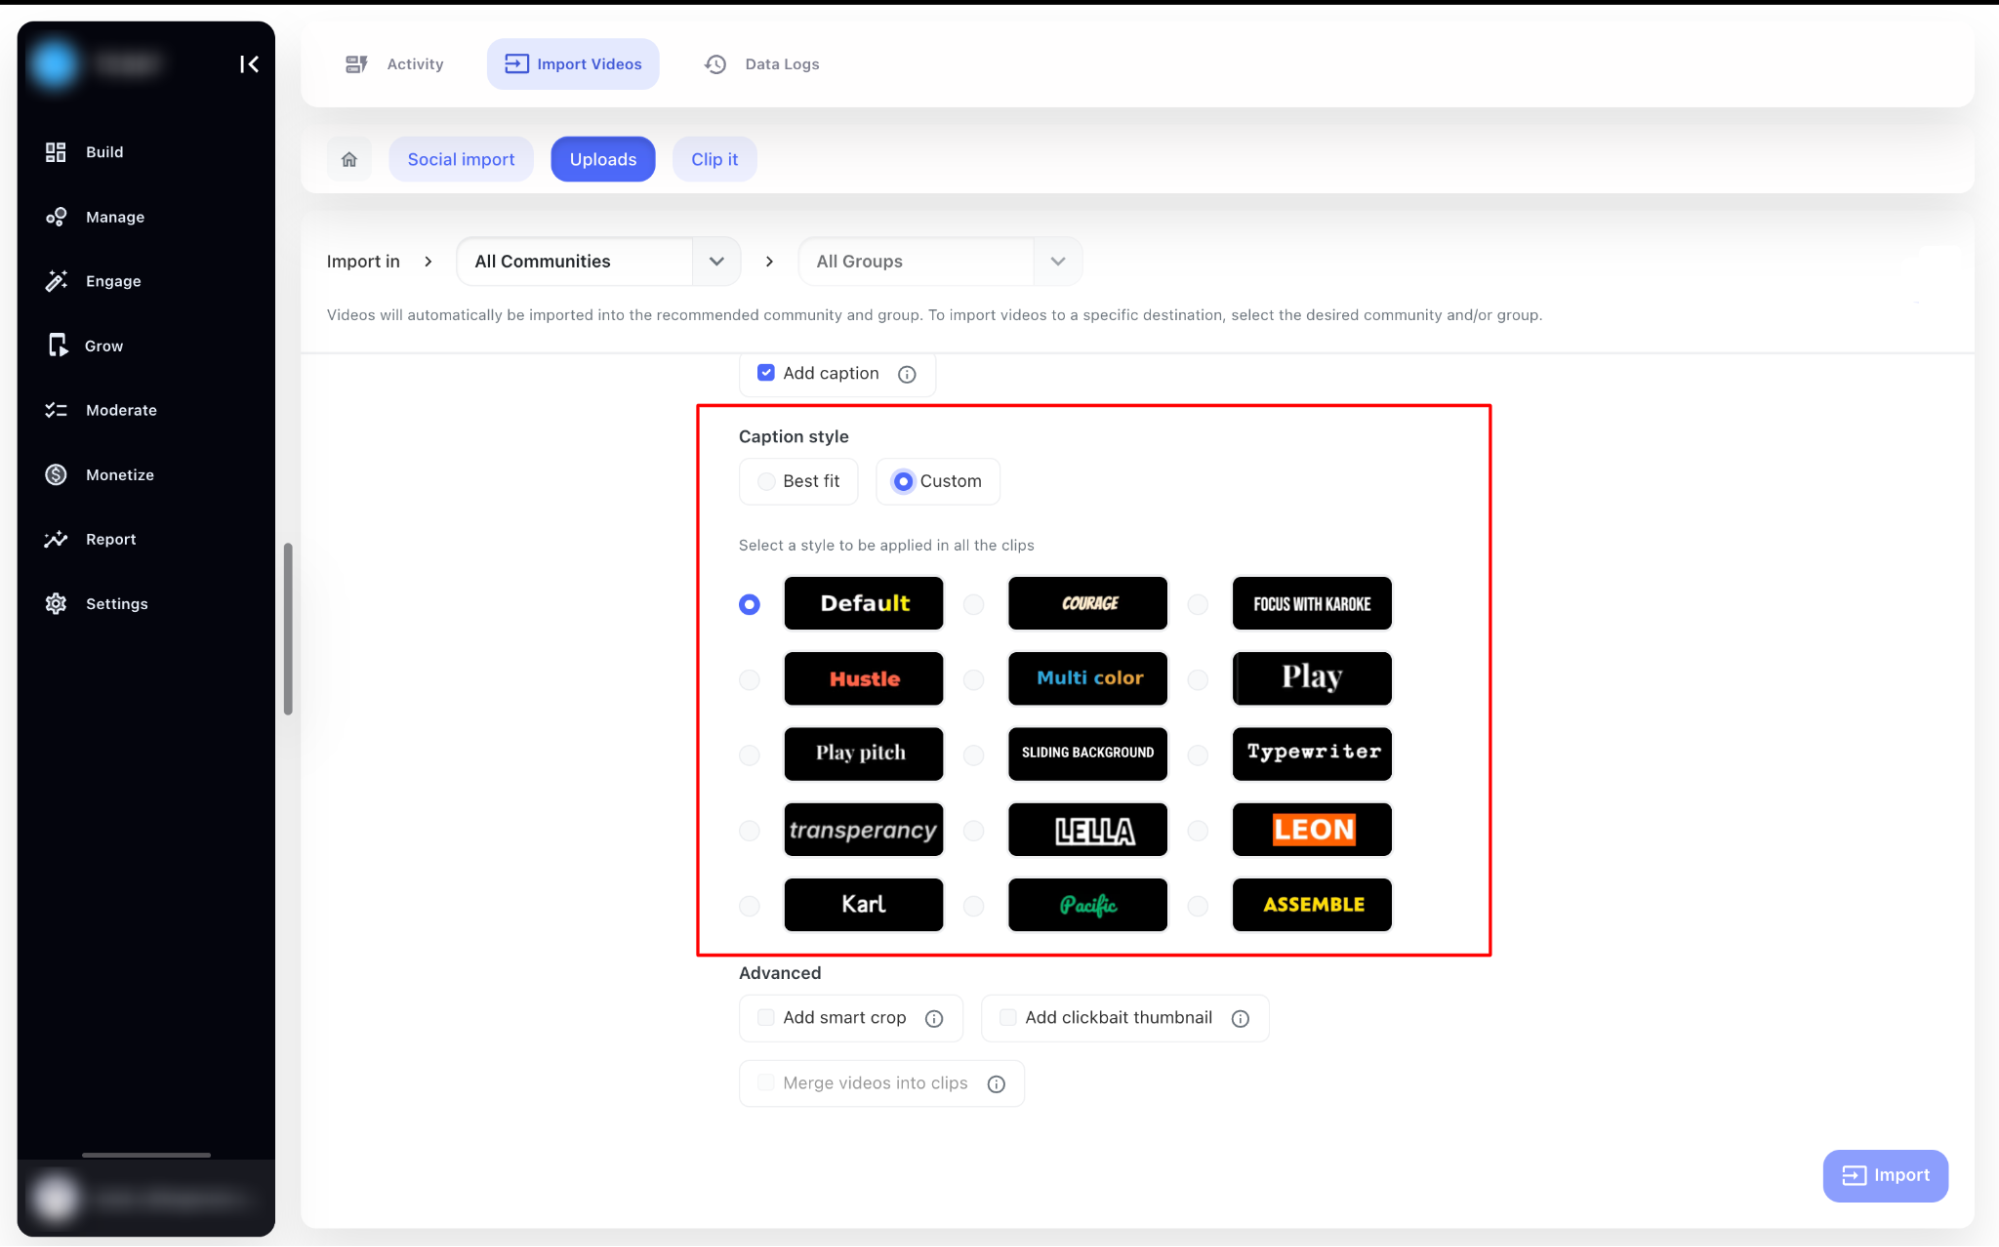
Enable the Add Title feature to generate a title based on the video content.Add Caption
Enable the Add Caption feature to automatically generate captions for your video clips.Add Background Music
Enable this option to apply background music to uploaded video.Add Description
Enable this option to automatically generate a description for your video upto 2000 characters. Each clip will include a relevant description, making it easier for viewers to understand the context without additional manual input.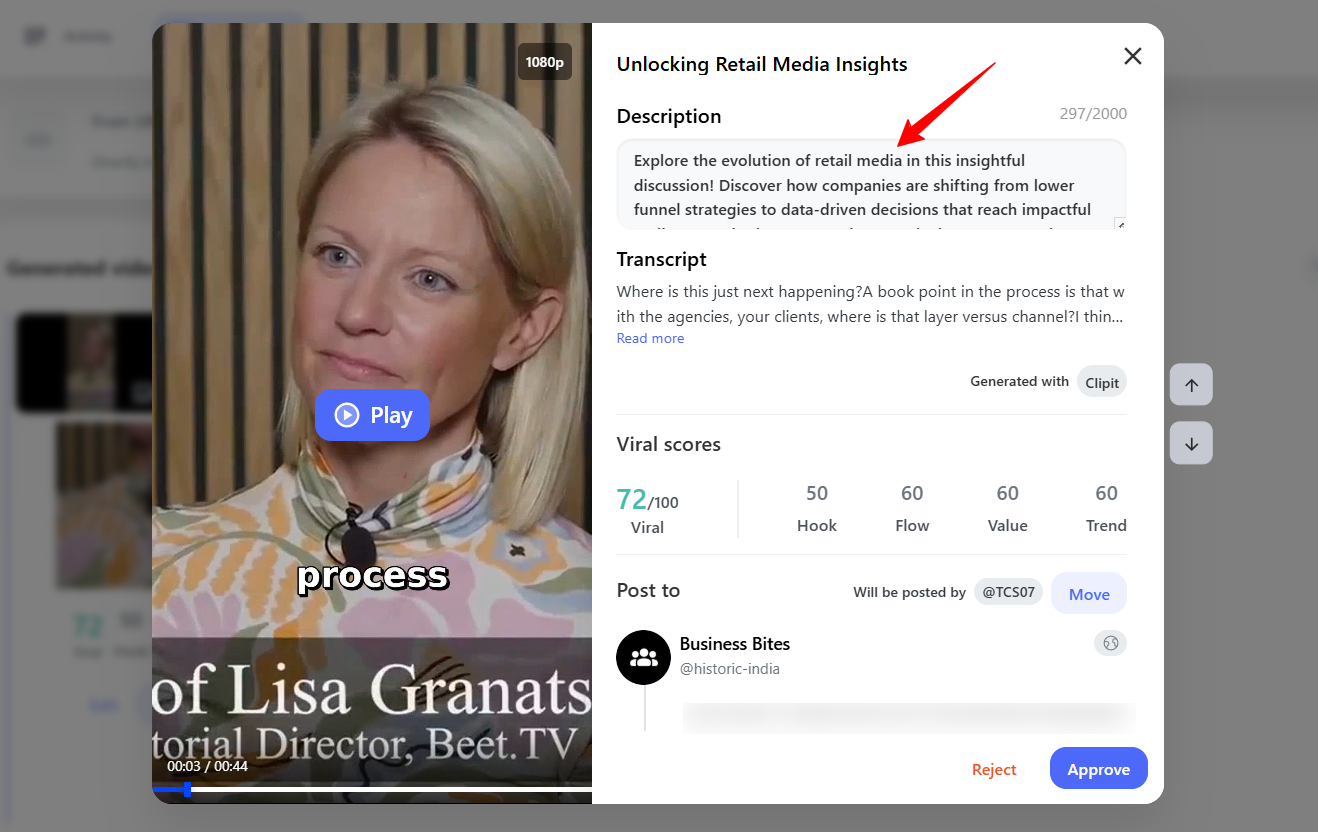
Caption Style
-
Best Fit
-
Custom
Add Smart Crop
Smart crop features crop out the person from the video and displays in such a way that more focus is on the person who is talking. Below is an example of it.Clickbait Thumbnail
If you want to generate the thumbnail with text then enable this feature. Thumbnail would be the best frame fetched from the video and the text will be applied which will be related to the video. Here is an example of it.
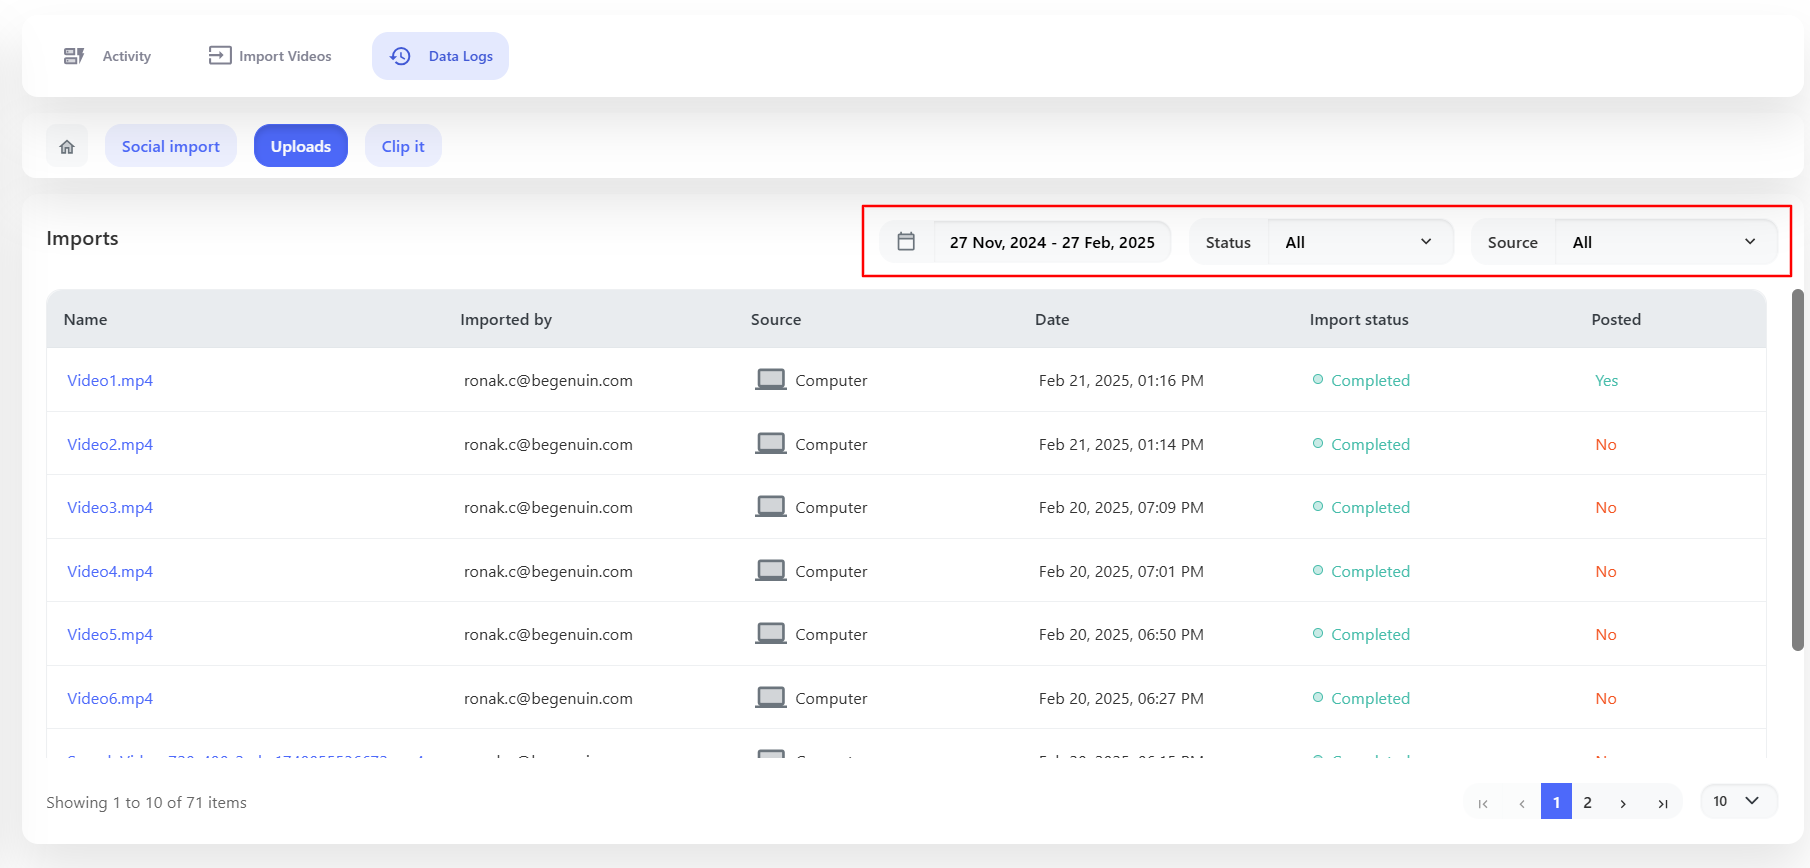
Data Logs
You can see the import status from the Data Logs > Uploads and other details like Name, Date, Import Status and Posted (Yes/No).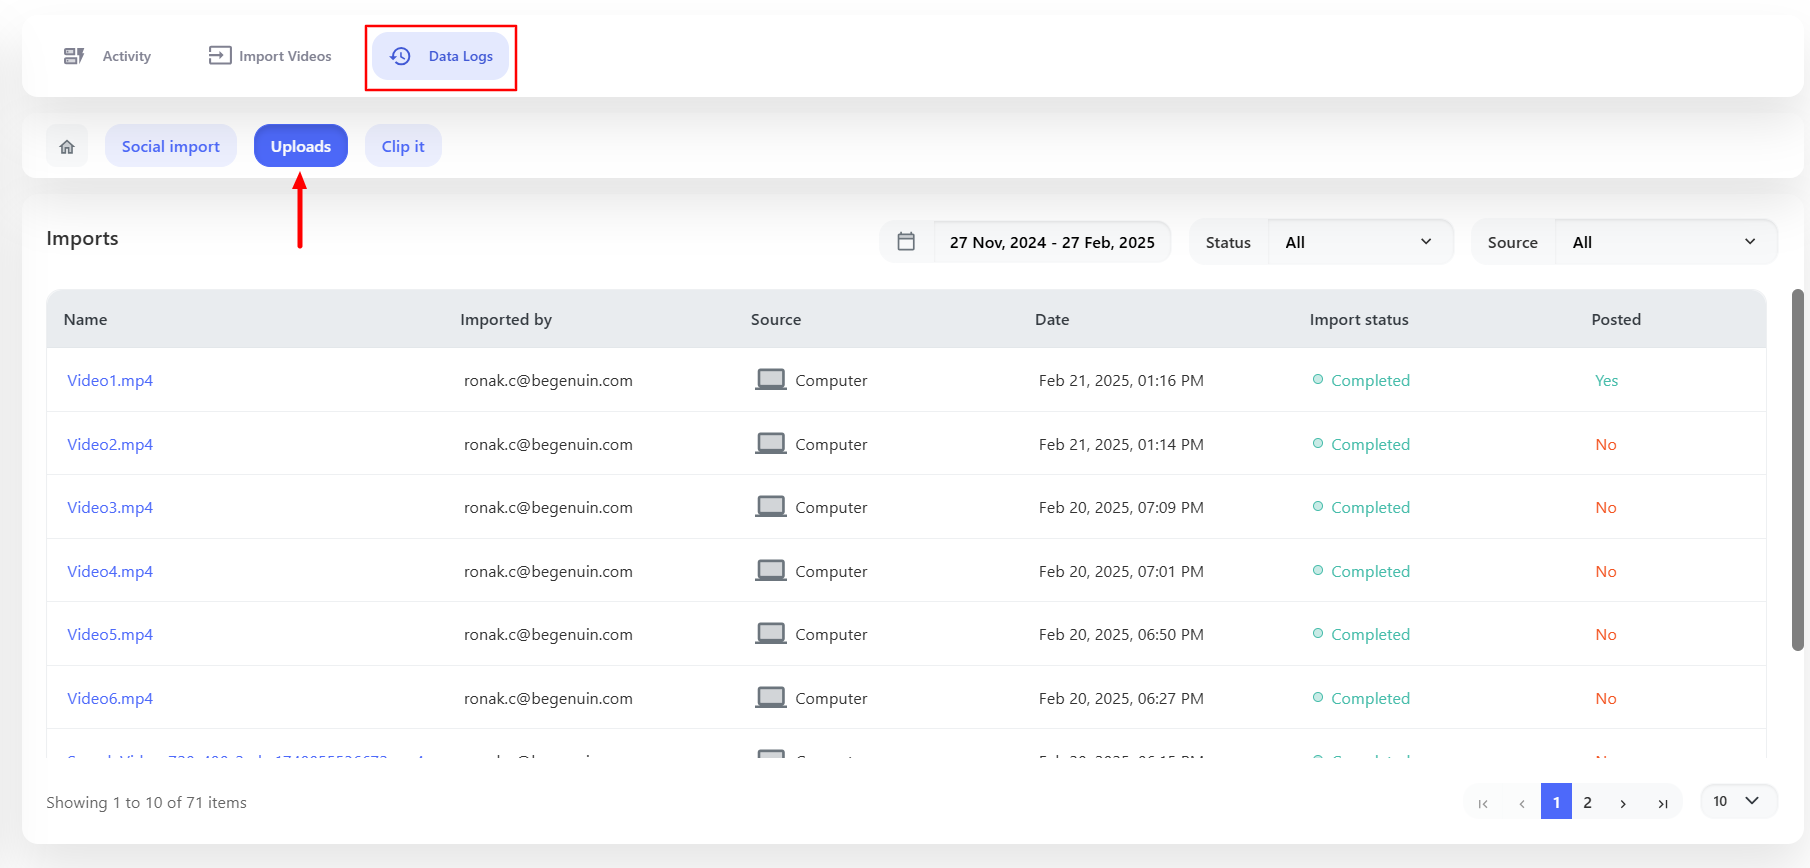
Activity
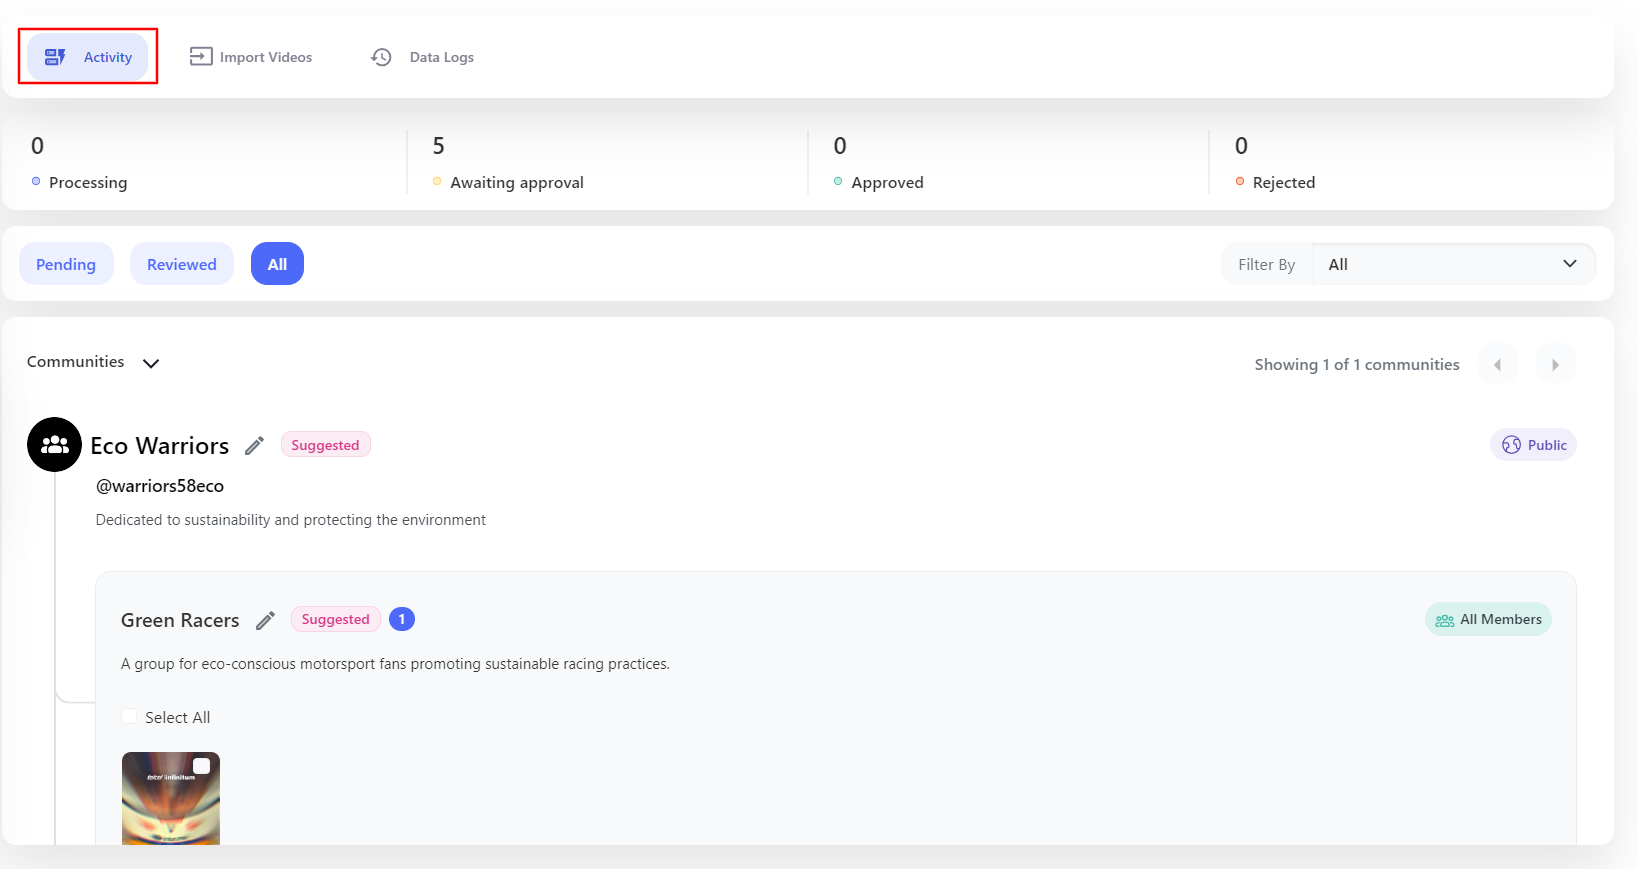

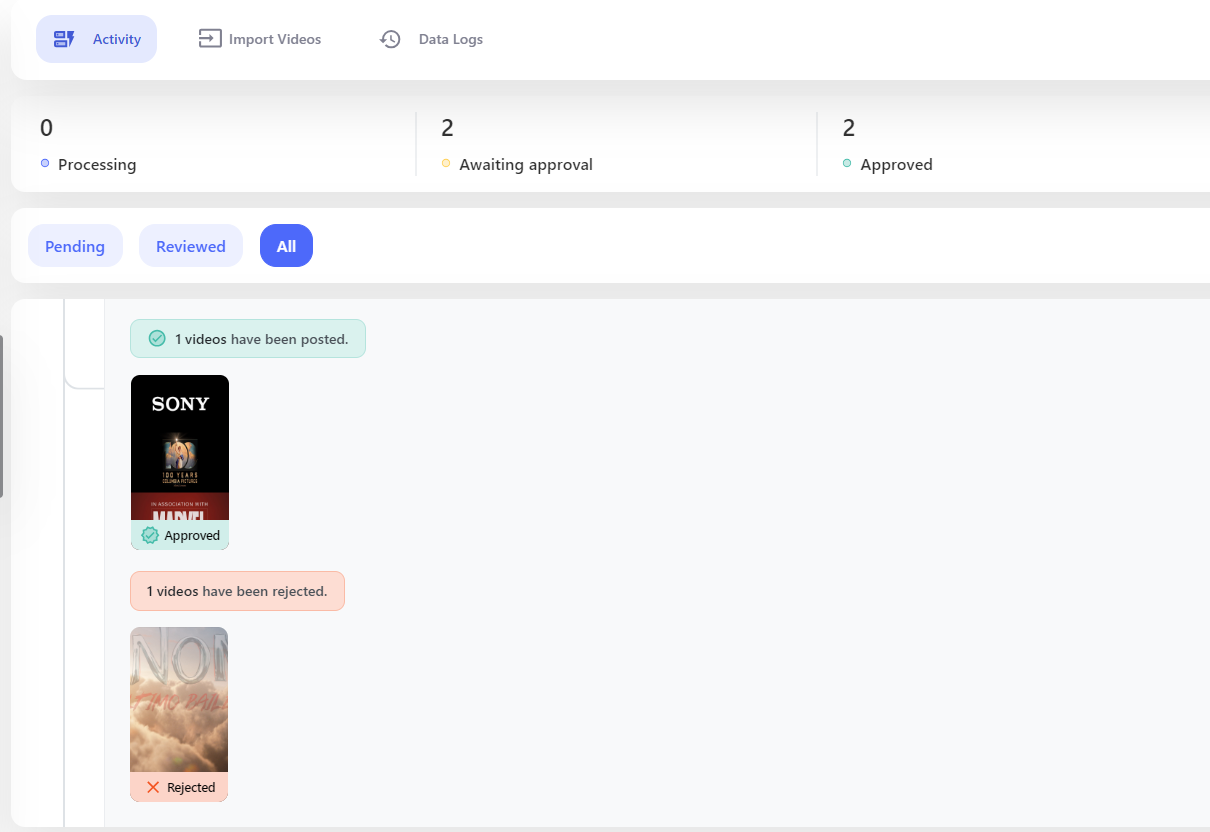
Approve/Reject Video
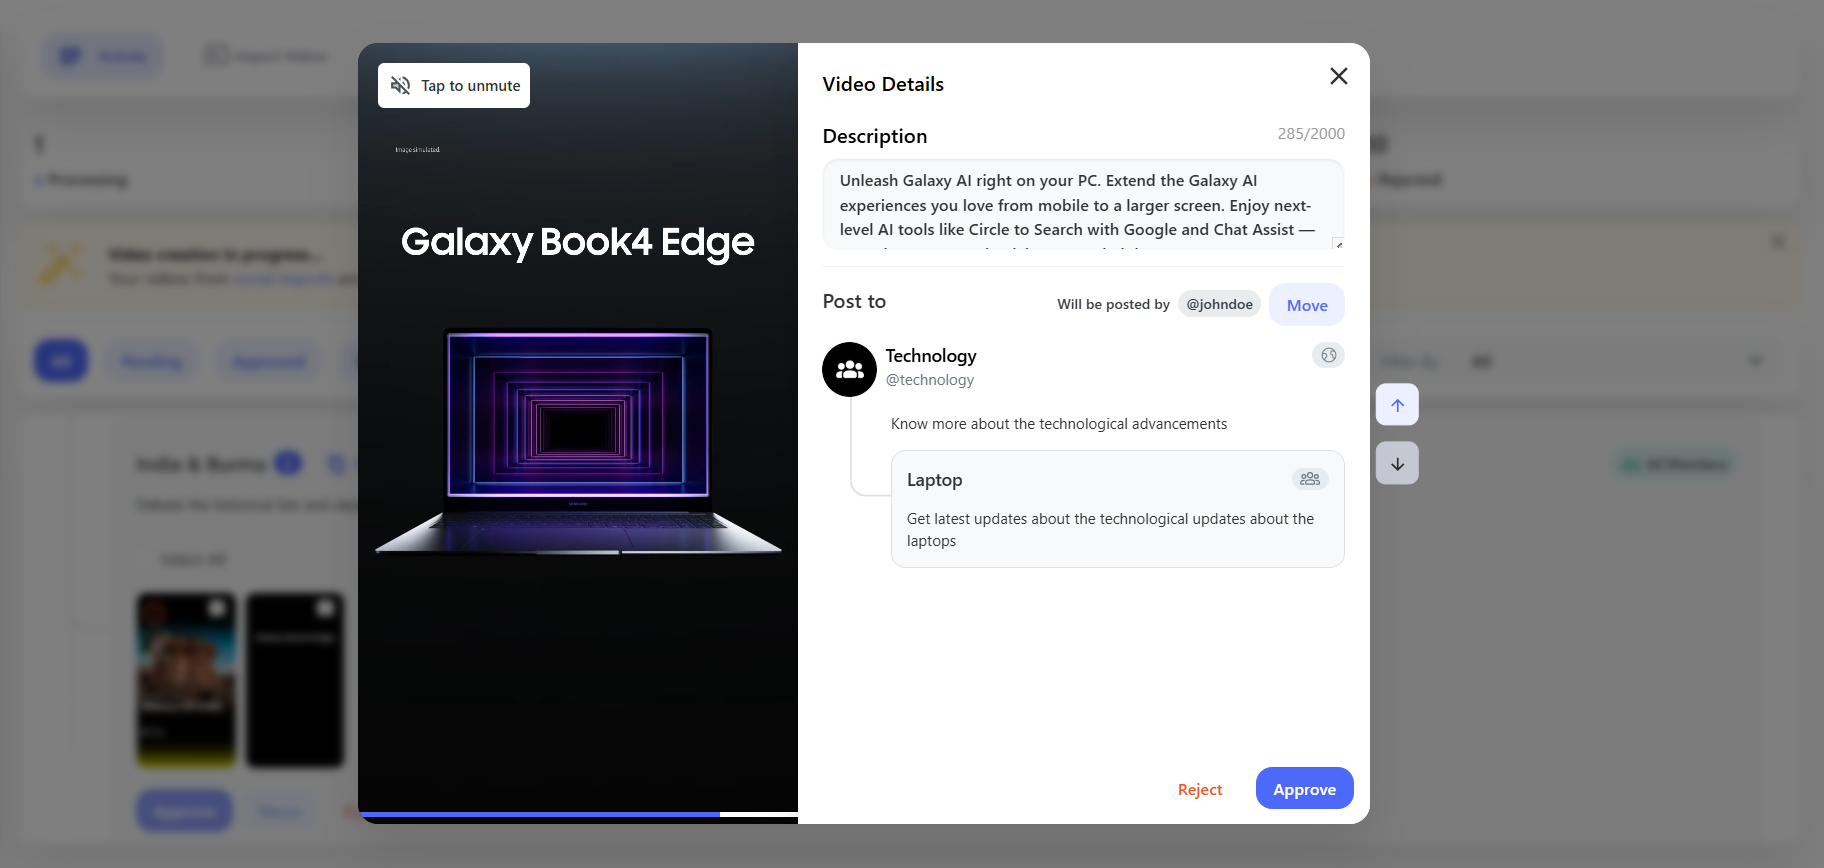
Based on the content of Video, you can view the suggested Community and Group name. Within the Group name your uploaded video will be visible. You can select the video and Approve it to post it or you can Reject it if you don’t like the video.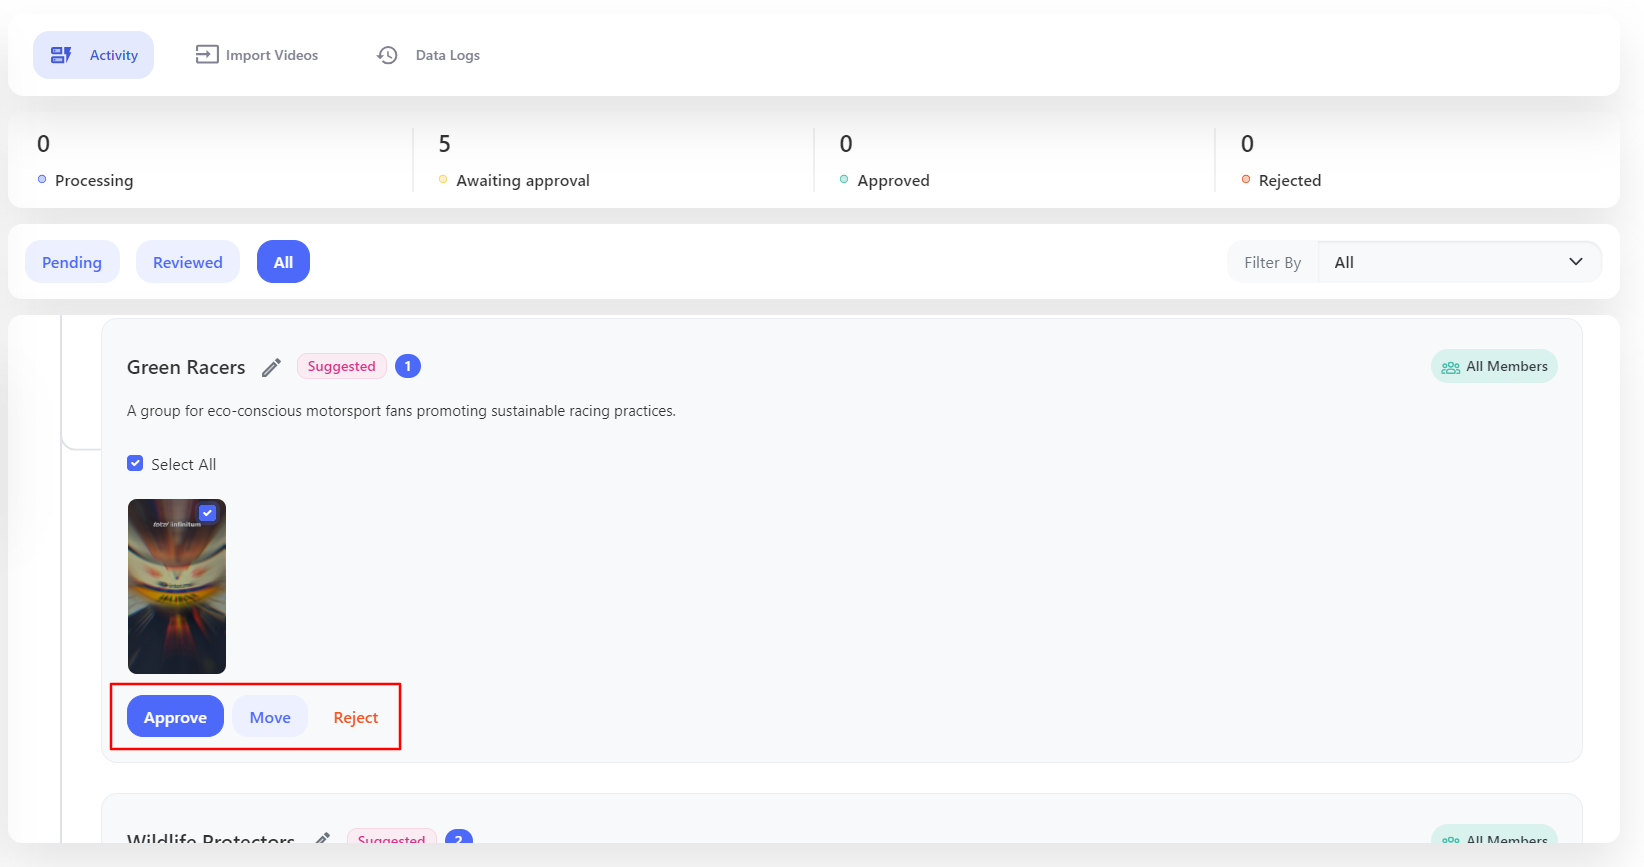
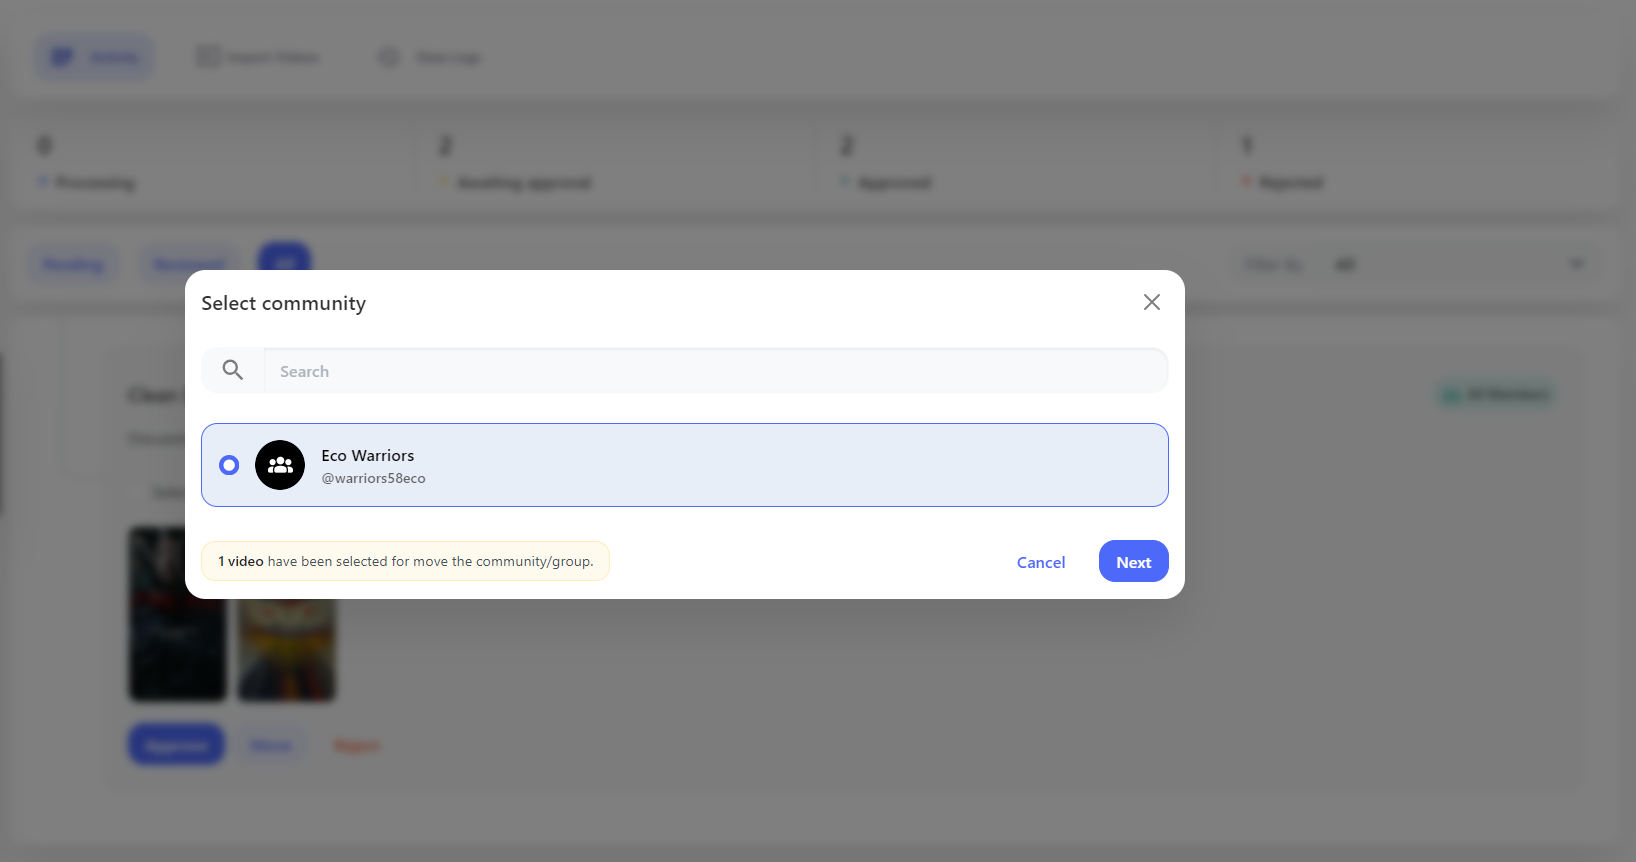
Move
You can also move the video to another community and group, if the current doesn’t seem the correct community or group.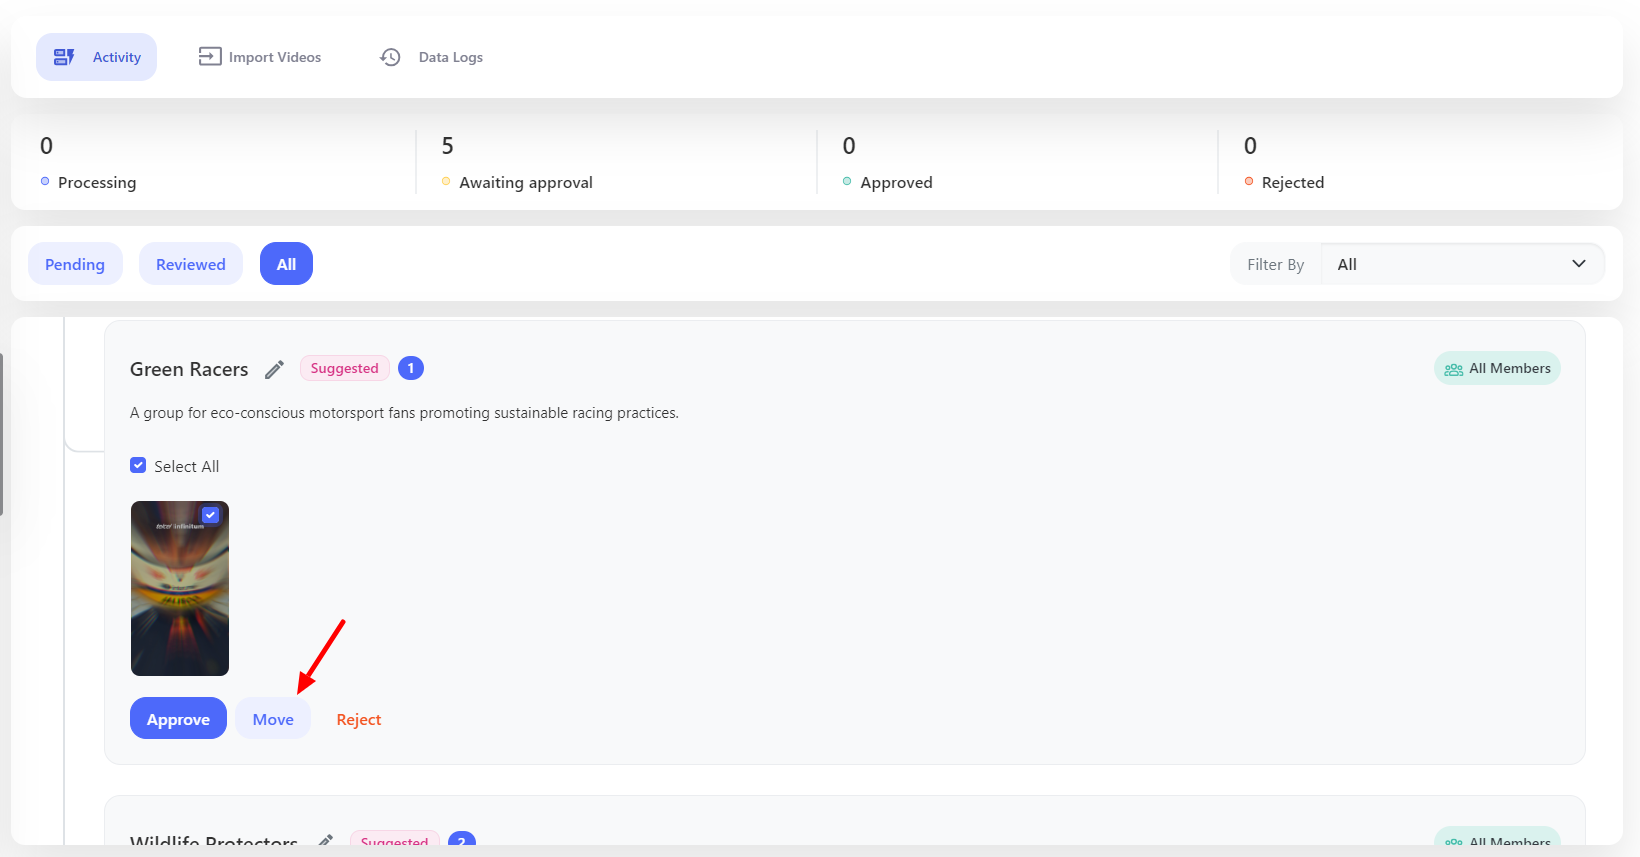
View
By clicking on the View button, you can see the video, along with its details and Approve/Reject options.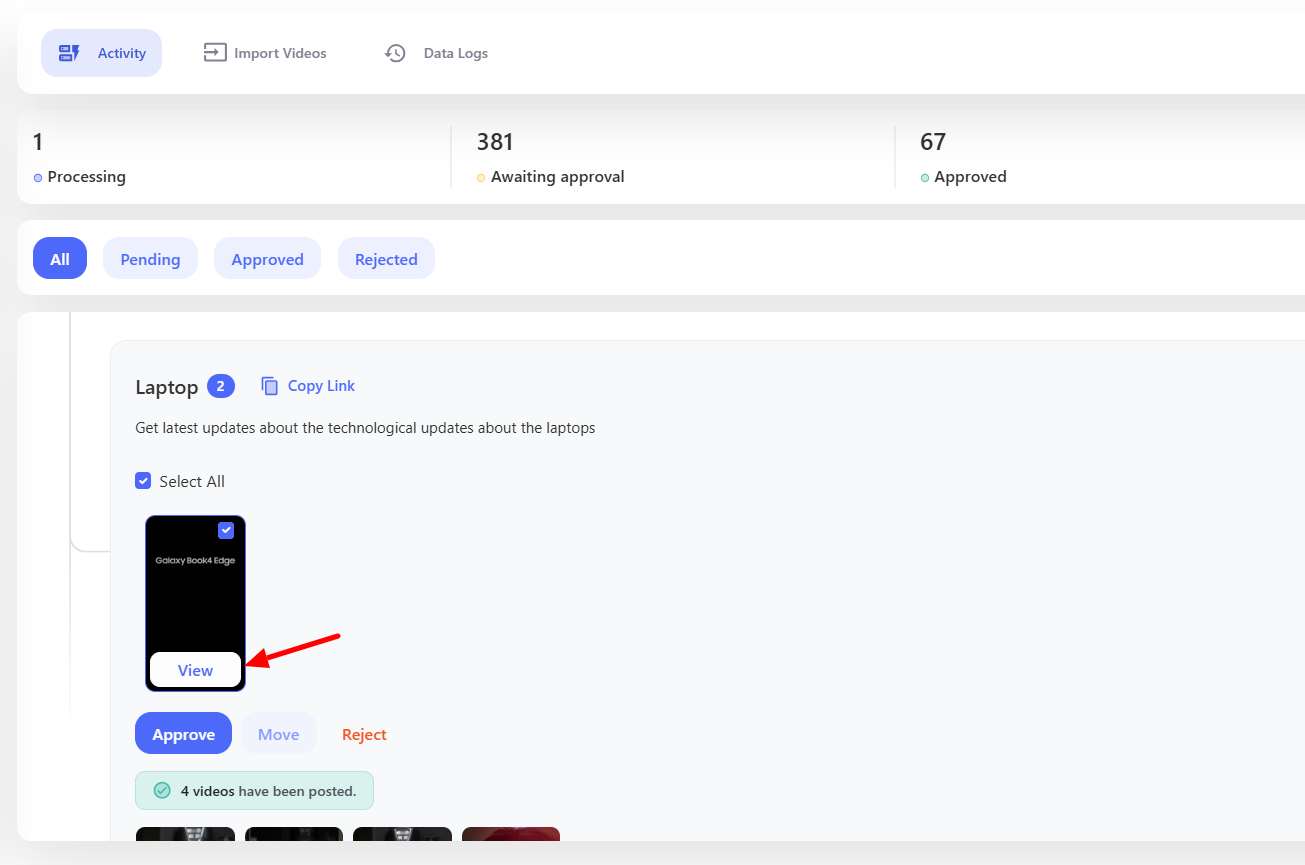
Change Community/Group Name
You don’t like the generated community/group name? You can change it as per your requirement by clicking this edit icon. Slider from the right side will open up where you can change the details as per your requirement.
